Category: Plots

  • First Experiment with SHAP Visualizations

    First Experiment with SHAP Visualizations

    In my previous post, I touched on model explainability. One approach for feature attribution is called SHAP, SHapley Additive exPlanations. In this post I will cover my first experiment with SHAP, building on one of my previous notebooks. My GitHub repo containing all of my Jupyter notebooks can be found here: GitHub – wcaubrey/learning-naive-bayes.

    What is SHAP

    SHAP (SHapley Additive Explanations) is a powerful technique for interpreting machine learning models by assigning each feature a contribution value toward a specific prediction. It’s grounded in Shapley values from cooperative game theory, which ensures that the explanations are fair, consistent, and additive.

    What SHAP Does

    • It calculates how much each feature “adds” or “subtracts” from the model’s baseline prediction.
    • It works both locally (for individual predictions) and globally (across the dataset).
    • It produces visualizations like force plots, summary plots, and dependence plots.

    What SHAP Is Good For

    • Trust-building: Stakeholders can see why a model made a decision.
    • Debugging: Helps identify spurious correlations or data leakage.
    • Fairness auditing: Reveals if certain features disproportionately affect predictions for specific groups.
    • Feature attribution: Quantifies the impact of each input on the output.

    Ideal Use Cases

    • Tree-based models (e.g., XGBoost, LightGBM, Random Forest)
    • High-stakes domains like healthcare, education, finance, and policy
    • Any scenario where transparency and accountability are critical

    My notebook changes

    In this new cell, I use the results of the previous grid search to create a SHAP TreeExplainer from the shap package. With that I create three different types of plots: a summary beeswarn, dependence and force plot.

    SHAP Visualizations

    Interpreting the summary beeswarm plot

    The x-axis shows the SHAP values. Positive values push the prediction higher, towards the positive class or higher score. Negative values push the prediction lower.

    The y-axis shows the features, ranked by overall importance. The most important features are at the top. The spread of SHAP values shows how much influence that feature can have. The wider the spread of dots along the x-axis, the more variability that feature contributes to predictions. Narrow spreads mean the feature has a consistent, smaller effect.

    Each dot represents a single observation for the feature. The color of the dots shows the feature value. Red for high values and blue for low.

    If high feature values (red dots) cluster on the right (positive SHAP values), then higher values of that feature increase the prediction. If high values cluster on the left, then higher values decrease the prediction. Blue dots (low feature values) show the opposite effect.

    Overlapping colors can suggest interactions. For example, if both high and low values of a feature appear on both sides, the feature’s effect may depend on other variables.

    Interpreting the force plot

    The base value is the average model prediction if no features were considered. It’s like the starting point. It is the neutral prediction before considering any features.

    Arrows or bars are the force each feature contributes positively or negatively to the prediction. Each feature either increases or decreases the prediction. The size of the arrow/bar shows the magnitude of its effect.

    • Red (or rightward forces): Push the prediction higher.
    • Blue (or leftward forces): Push the prediction lower.

    The final prediction is the sum of the baseline plus all feature contributions. The endpoint shows the model’s actual output for that instance

    – William

    References

  • Using Random Forests to analyze student performance

    Using Random Forests to analyze student performance

    In this post, I’ll walk through my first notebook exploring random forests. I’m using a dataset I found on Kaggle. It can be found here: https://www.kaggle.com/datasets/whenamancodes/students-performance-in-exams/data.

    This is a small, simulated dataset that contains data for gender, ethnicity, the level of education attained by the parents, the lunch (free or standard), whether the student took test preparation courses and the scores for math, reading and writing.

    I’ll try my hand at using random forests to understand the importance of various features on student performance.

    Step 1: Clean up the data

    After reading the data into a Dataframe, we do a quick check on the quality of the data. I check for simple things like empty values and duplicates using Polars APIs.

    Below is the code from our notebook cell:

    In these cells:

    • Check for null data.
    • Check for duplicate rows and remove the duplicates.

    This makes sure we correct and, or remove any bad data before we start processing.

    Step 2: Inspect the data

    Now that the data is cleaned up, we can create some visualizations of the data. The first I’ll create are some histograms of the math, reading and writing scores. Histograms are one of the most foundational, and surprisingly powerful, visual tools in a data scientist’s toolkit.

    Below is the code from three notebook cells to generate the histograms:

    Histograms allow us to:

    • See whether the data is symmetrical or not.
    • See if there are a lot of outliers that could impact model performance.

    Next we’ll look at some boxplots. Boxplots are good for summarizing the distribution of the data.

    Boxplots allow us to visualize:

    • The median value of our features. The median represents the central tendency.
    • The interquartile range (IQR), showing the middle 50% of data.
    • The min and max values (excluding outliers).
    • Data outliers. Outliers are represented by the circles outside of 1.5 * the IQR.
    • Assess skewness. We can see of the median is very close to the top or bottom of the box.

    Next, we’ll look a heatmap. Heatmaps (or heatplots) are really powerful data visualizations, they let you see relationships between variables at a glance, especially when you’re dealing with large datasets or multiple features.

    Heatmaps allow us to visualize:

    • Correlations: Bright colors show strong positive or negative correlations while faded or neutral colors imply weak or no relationship.
    • Spotting Patterns: We can quickly identify where performance clusters, or drops, occur.
    • Identifying Anomalies: Visual blips can point to data quality problems.

    Step 3: Encoding Categorical Variables

    The next step is to convert our categorical columns to a numeric format using scikit-learn’s LabelEncoder.

    Below is the code from our notebook cell:

    In that cell:

    • I instantiate a LabelEncoder object.
    • I get the names of the columns that need to be encoded by iterating over the columns in the dataframe and filtering where the type of the column is a string.
    • I create encoded data for each of those columns with a new name appended with “_num”.
    • Lastly I create a new dataframe that combines the new columns I created with the original dataframe.

    Step 4: Remove the non-numeric columns

    This is a simple step, where I simply select the columns that are integers.

    Below is the code from our notebook cell:

    In that cell:

    • Iterate over the columns, filtering where the type is integer and use that list in the select function.

    Now we can create a heatmap that includes the encoded data too.

    Step 5: Train models for math, reading and writing

    Now it’s time to build, train, and evaluate our model. I repeat this step for each of the math, reading and writing scores. I’ll only show the math cell here as they do the same thing.

    In that cell:

    • Drop the score columns from the dataframe.
    • Choose “math score” as my category column.
    • Split the data and create a RandomForestRegressor model.
    • Train the model against the data.
    • Use the model to predict values and measure the accuracy.

    The r2 score gives a sense of how well the predictors capture the ups-and-downs in your target. Or: How much better is my model at predicting Y than just guessing the average of Y every time?

    • R² = 1: indicates a perfect fit.
    • R² = 0: the model is no better than predicting the mean.
    • R² < 0: the model is worse than the mean.

    Step 6: Visualize feature importance to the math score

    Now we can create a histogram to visualize the relative importance of our features to the math score.

    In that cell:

    • I grab all the feature columns.
    • Map the columns to the models feature_importances_ value.
    • Generate a plot.
    The higher the value in feature_importances_, the more important the feature.

      Final Thoughts and Next Steps

      In this first step into learning about Random Forests we can see they are powerhouse in the world of data science. Random Forests are built on the idea of “wisdom of the crowd”, by combining many decision trees trained on random subsets of data and features, they reduce overfitting and improve generalization.

      The new Jupyter notebook can be found here in my GitHub.

      – William

    • Experimenting with Model Stacking on Student Alcohol Consumption Data

      Experimenting with Model Stacking on Student Alcohol Consumption Data

      In this blog post, I’m building on my previous work with the Student Alcohol Consumption dataset on Kaggle. My latest experiments can be found in the updated Jupyter notebook. In this updated analysis, I explored several new approaches—including using linear regression, stacking models, applying feature transformations, and leveraging visualization—to compare model performances in both prediction and classification scenarios.

      Recap: From the Previous Notebook

      Before diving into the latest experiments, here’s a quick overview of what I did earlier:

      • I explored using various machine learning algorithms on the student alcohol dataset.
      • I identified promising model combinations and created baseline plots to display their performance.
      • My earlier analysis provided a solid framework for experimentation with stacking and feature transformation techniques.

      This post builds directly on that foundation.

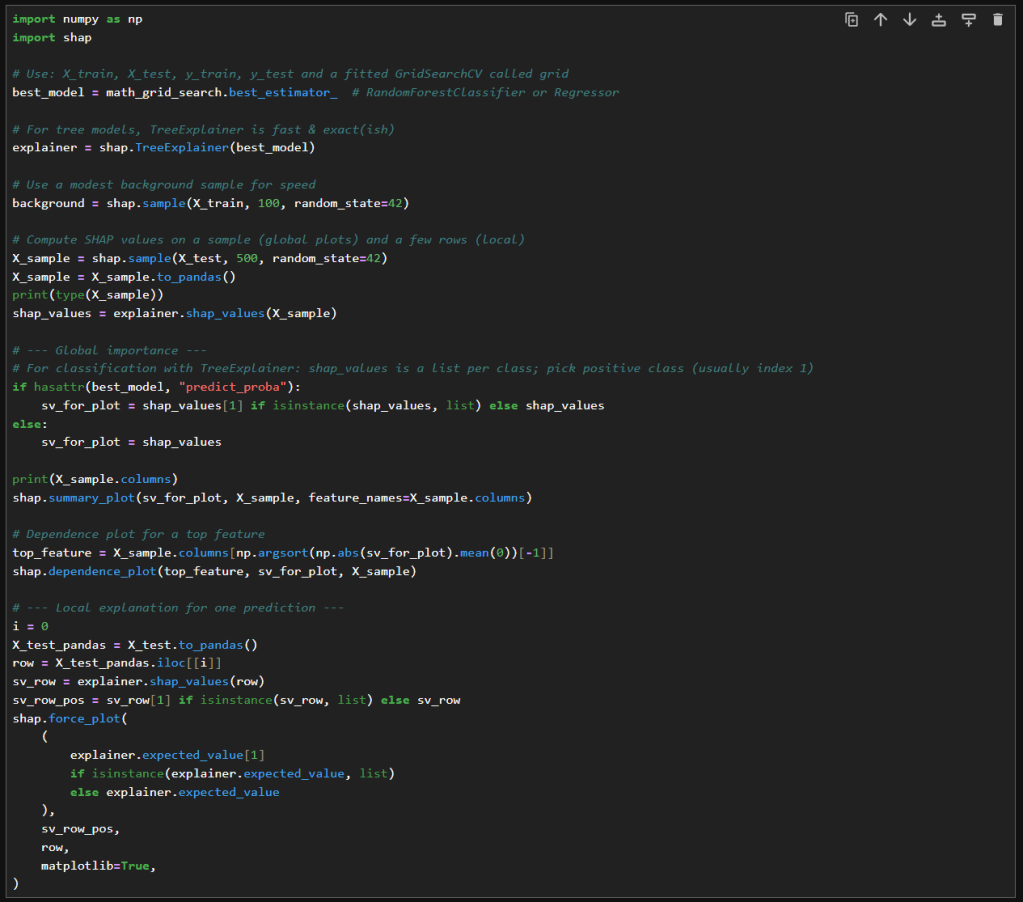
      Experiment 1: Using Linear Regression

      Motivation:

      I decided to try a linear regression model because it excels at predicting continuous numerical values—like house prices or temperature. In this case, I was curious to see how well it could predict student grades or scaled measures of drinking behavior.

      What I Did:
      • I trained a linear regression model on the dataset.
      • I applied a StandardScaler to ensure that numeric features were well-scaled.
      • The predictions were then evaluated by comparing them visually (using plots) and numerically to other approaches.
      Observation:

      Interestingly, the LinearRegression model, when calibrated with the StandardScaler, yielded better results than using Gaussian Naive Bayes (GNB) alone. A plot of the predictions against actual values made it very clear that the linear model provided smoother and more reliable estimates.

      Experiment 2: Stacking Gaussian Naive Bayes with Linear Regression

      Motivation:

      I wanted to experiment with stacking models that are generally not used together. Despite the literature primarily avoiding a combination of Gaussian Naive Bayes with linear regression, I was intrigued by the possibility of capturing complementary characteristics of both:

      • GNB brings in a generative, probabilistic perspective.
      • Linear Regression excels in continuous predictions.
      What I Did:
      • I built a stacking framework where the base learners were GNB and linear regression.
      • Each base model generated predictions, which were then used as input (meta-features) for a final meta-model.
      • The goal was to see if combining these perspectives could offer better performance than using either model alone.
      Observation:

      Stacking GNB with linear regression did not appear to improve results over using GNB alone. The combined predictions did not outperform linear regression’s stand-alone performance, suggesting that in this dataset the hybrid approach might have introduced noise rather than constructive diversity in the predictions.

      Experiment 3: Stacking Gaussian Naive Bayes with Logistic Regression

      Motivation:

      While exploring stacking architectures, I found that combining GNB with logistic regression is more common in the literature. Since logistic regression naturally outputs calibrated probabilities and aligns well with classification tasks, I hoped that:

      • The generative properties of GNB would complement the discriminative features of logistic regression.
      • The meta-model might better capture the trade-offs between these approaches.
      What I Did:
      • I constructed a stacking model where the two base learners were GNB and logistic regression.
      • Their prediction probabilities were aggregated to serve as inputs to the meta-learner.
      • The evaluation was then carried out using test scenarios similar to those in my previous notebook.
      Observation:

      Even though the concept seemed promising, stacking GNB with logistic regression did not lead to superior results. The final performance of the stack was not significantly better than what I’d seen with GNB alone. In some cases, the combined output underperformed compared to linear regression alone.

      Experiment 4: Adding a QuantileTransformer

      Motivation:

      A QuantileTransformer remaps features to follow a uniform or a normal distribution, which can be particularly useful when dealing with skewed data or outliers. I introduced it into the stacking pipeline because:

      • It might help models like GNB and logistic regression (which assume normality) to produce better-calibrated probability outputs.
      • It provides a consistent, normalized feature space that might enhance the meta-model’s performance.
      What I Did:
      • I added the QuantileTransformer as a preprocessing step immediately after splitting the data.
      • The transformed features were used to train both the base models and the meta-learner in the stacking framework.
      Observation:

      Surprisingly, the introduction of the QuantileTransformer did not result in a noticeable improvement over the GNB results without the transformer. It appears that, at least under my current experimental settings, the transformed features did not bring out the expected benefits.

      Experiment 5: Visualizing Model Results with Matplotlib

      Motivation:

      Visual analysis can often reveal trends and biases that plain numerical summaries might miss. Inspired by examples on Kaggle, I decided to incorporate plots to:

      • Visually compare the performance of different model combinations.
      • Diagnose potential issues such as overfitting or miscalibration.
      • Gain a clearer picture of model behavior across various scenarios.
      What I Did:
      • I used Matplotlib to plot prediction distributions and error metrics.
      • I generated side-by-side plots comparing the predictions from linear regression, the stacking models, and GNB alone.
      Observation:

      The plots proved invaluable. For instance, a comparison plot clearly highlighted that linear regression with StandardScaler outperformed the other approaches. Visualization not only helped in understanding the behavior of each model but also served as an effective communication tool for sharing results.

      Experiment 6: Revisiting Previous Scenarios with the Stacked Model

      Motivation:

      To close the loop, I updated my previous analysis function to use the stacking model that combined GNB and logistic regression. I reran several test scenarios and generated plots to directly compare these outcomes with earlier results.

      What I Did:
      • I modified the function that earlier produced performance plots.
      • I then executed those scenarios with the new stacked approach and documented the differences.
      Observation:

      The resulting plots confirmed that—even after tuning—the stacked model variations (both with linear regression and logistic regression) did not surpass the performance of linear regression alone. While some combinations were competitive, none managed to outshine the best linear regression result that I had seen earlier.

      Final Thoughts and Conclusions

      This journey into stacking models, applying feature transformations, and visualizing the outcomes has been both enlightening and humbling. Here are my key takeaways:

      • LinearRegression Wins (for Now): The linear regression model, especially when combined with a StandardScalar, yielded better results compared to using GNB or any of the stacked variants.
      • Stacking Challenges:
        • GNB with Linear Regression: The combination did not improve performance over GNB alone.
        • Stacking GNB with Logistic Regression: Although more common in literature, this approach did not lead to a significant boost in performance in my first attempt.
      • QuantileTransformer’s Role: Despite its promise, the QuantileTransformer did not produce the anticipated improvements. Its impact may be more nuanced or require further tuning.
      • Visualizations Are Game Changers: Adding plots was immensely helpful to better understand model behavior, compare the effectiveness of different approaches, and provide clear evidence of performance disparities.
      • Future Directions: It’s clear that further experimentation is necessary. I plan to explore finer adjustments and perhaps more sophisticated stacking strategies to see if I can bridge the gap between these models.

      In conclusion, while I was hoping that combining GNB with logistic regression would yield better results, my journey shows that sometimes the simplest approach—in this case, linear regression with proper data scaling—can outperform more complex ensemble methods. I look forward to further refinements and welcome any ideas or insights from the community on additional experiments I could try.

      I hope you found this rundown as insightful as I did during the experimentation phase. What do you think—could there be yet another layer of transformation or model combination that might tip the scales? Feel free to share your thoughts, and happy modeling!

      – William